Projects
Service descriptions
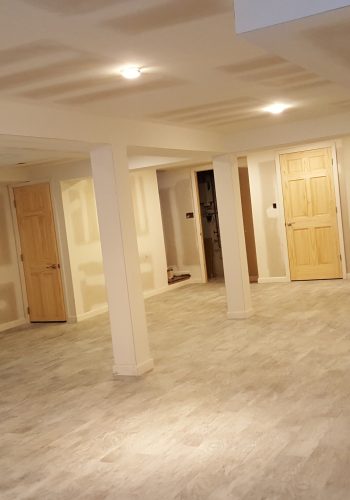
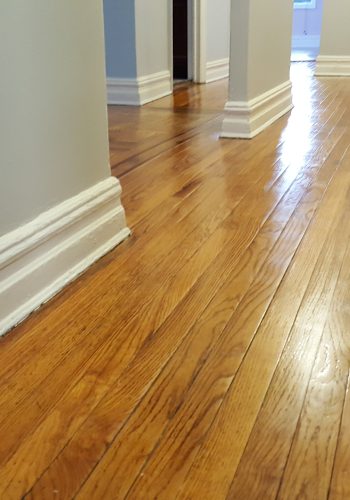
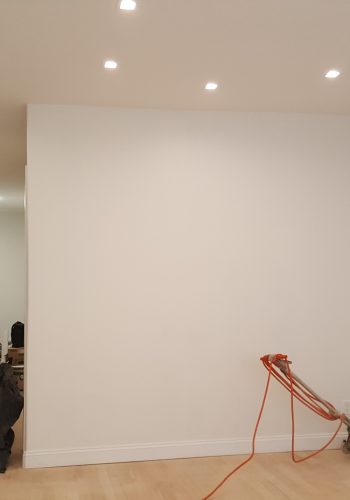
These Are Pictures of Oak Hardwood Floors
We use the straightest planks, arranged with the tongue side facing the center of the room. We Place spacers inside the expansion gap — the space between the wall and floor that allows the wood to expand from heat and humidity. Predrill nail holes 1/4 inch from the narrow side of the plank at 1/2 inch from the wall. Continue at 6-inch intervals for the length of each board.On the second row, lock the tongue and groove, and tap them together with a mallet and block for a tight fit between the boards.We use a flooring nailer, be sure to install the nailer’s protective boot to protect the flooring.Then If the final piece is 1 inch wide or less, apply a small amount of wood glue to the tongue and groove. Then insert the piece with a pry bar and a piece of scrap wood to protect the wall.ThenCut the underlayment and reattach the baseboards and shoe molding to the wall, not the floor.


Previous
Next
Safety Measuresments
We take measures to ensure safety of our workers ,to make sure no project is compromised .
- Workers Wear Safety Goggles
- Dust Mask and Masks In General are used when working.
- Ear Plugs and/or Muffs
- Brooming and Cleaning
- Knee Pads , Gloves and Hard Hats
Tools And Items Used
- Hardwood (Oak,Red Oak. White Oak. Maple. Hickory. Black Walnut. Cherry. Beech. Ash.)Concrete ,Tile or Vinyl and Or Laminated Floors
- Tile Spacers
- Floor Roller
- Chalk Line
- Jamb Saw ,Table Saw ,Jig Saw
- Mallet ,Hammer,and Drill ,Tapping Block
- Nail gun and Nail Sets
- Flooring Nailer
- Wood Moisture Meter ,Concrete RH Test and Level
- Sander and Air Compressor
- Broom and Vaccum
